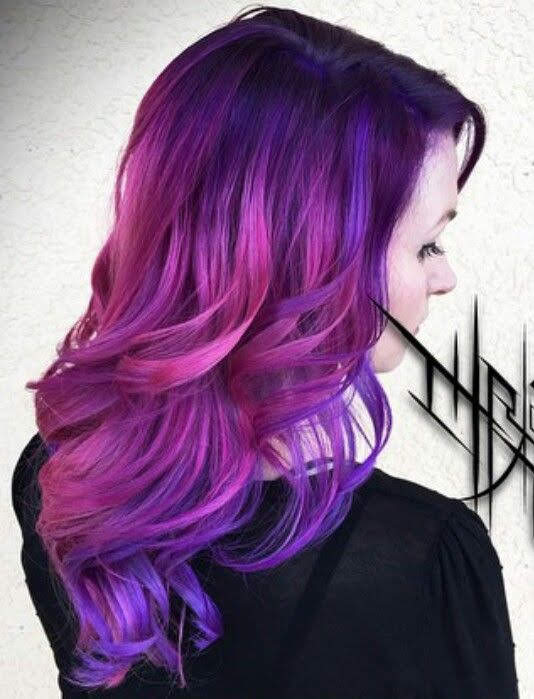
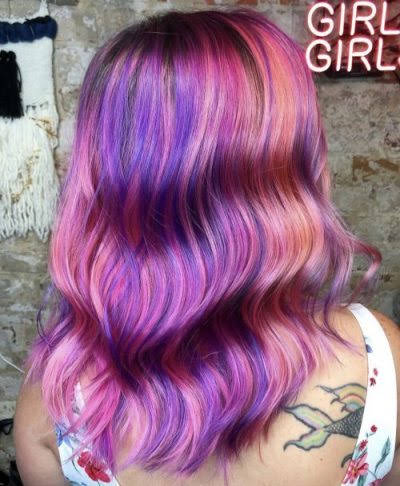
As COVID 19 continues and we are staying home, social distancing, and in general avoid all humans. Our hair is continuing to grow. I am one to go either a year, 6 months, or two months between getting my hair cut. I for some reason can not get on a schedule and get regular haircuts done. But, back in November I decided that I wanted a change! Not in my cut, but color! I have like many people my age dyed their hair in a sink at home or in college. I have had the standard colors: blonde, black, and red. This time I am thinking PURPLE! I described the way I wanted my hair was “If purple was a natural human hair color that’s what I wanted it to look like.” meaning it would have lowlights and highlights ranging in different shades and tints of purple.
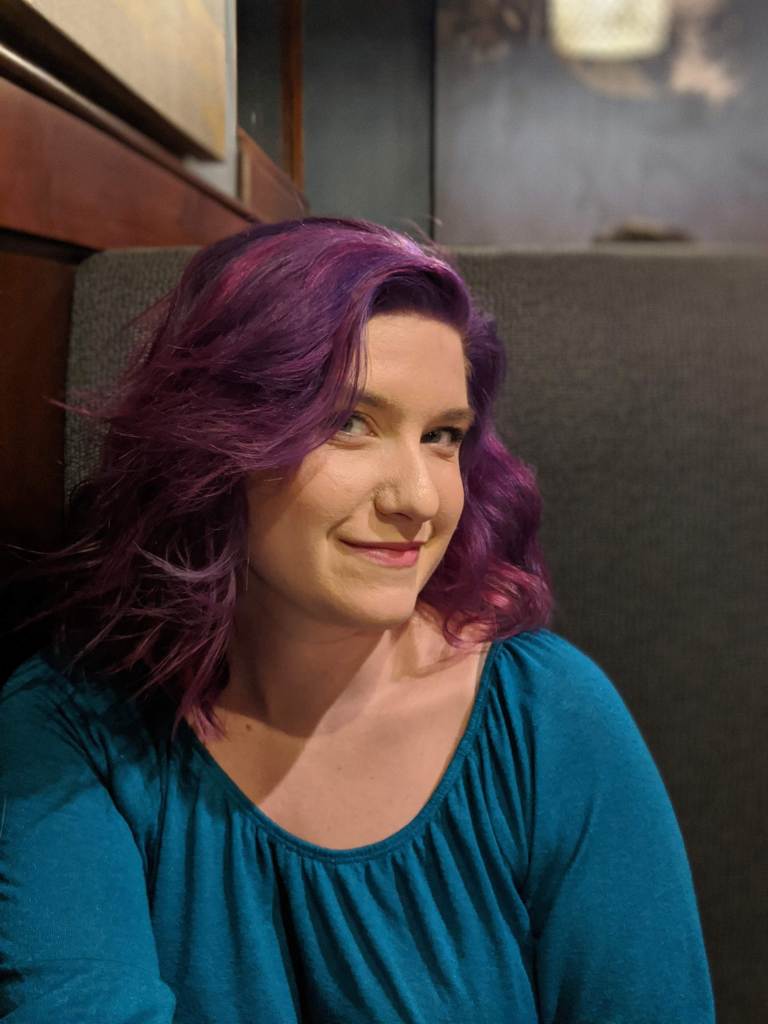
As this was my first time having it professional done, everything bleach, rinse, dye, and cut! I am in love with it. I have been told by a few people that purple seems to be my ‘meant’ to be hair color like why was I ever a mousey brown? Naturally, with time my color began to fade and my layers grew out. So week 5 out of quarantine I ordered hair dye and watched one too many videos on the right way to cut and color my hair.
*DISCLAIMER* Do not try this at home without parent approval if you are a minor.
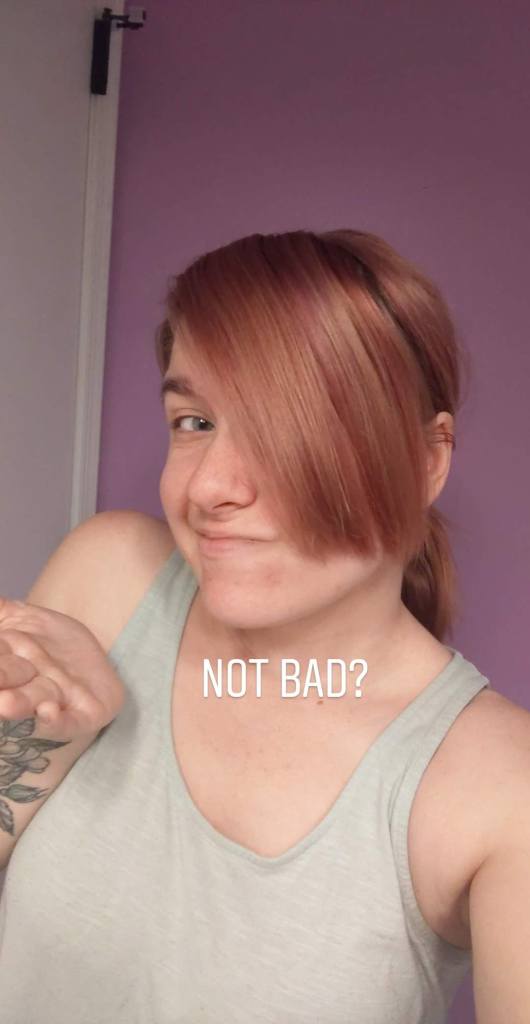
This wasn’t my first time doing this but for some reason the purple really made me nervous. Like many, I of course went to college and decided to dye my hair every year, which of course led to dying my friends hairs. Being a college student 1. haircuts weren’t really high on my list of things to get and 2. Money. So guess who grabbed scissor many times and gave themselves a haircut, this girl!
Here we go! I started with my bangs by pulling all of my hair back into a low ponytail, using a wet comb I pulled them forward and cut. I did quite a bit of cutting straight across and scissor pointing which is when you cut directly up into the hair. I am pretty satisfied with my bangs! There is a good chance I might go back in and cut them shorter, closer to my cheekbone.

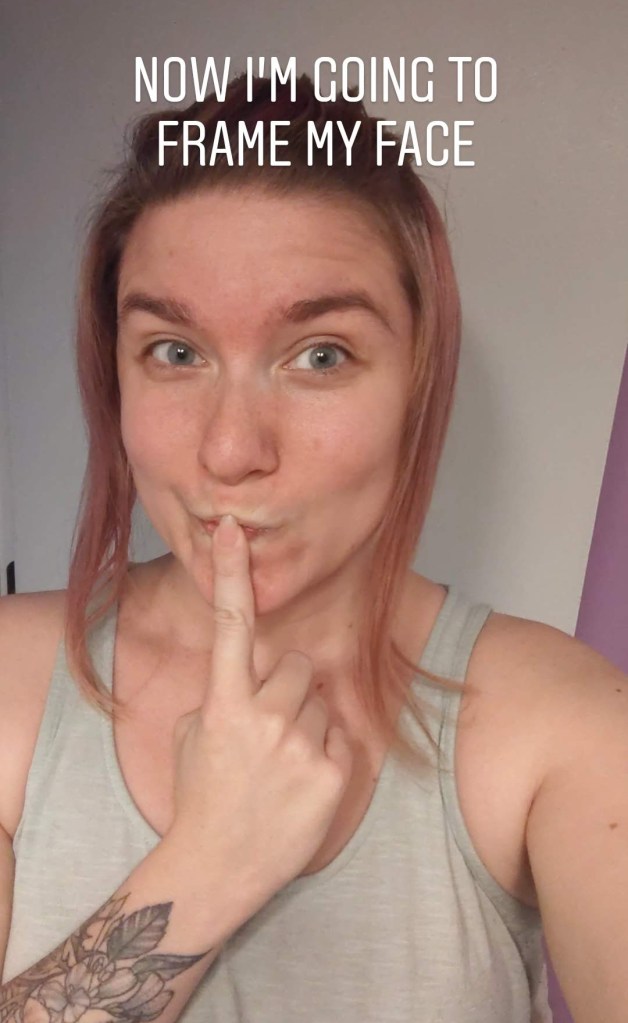
With that boost of confidence, I wanted to take this haircut a step further! Adding layers to frame my face. Couldn’t be that hard right? It isn’t. I created this lovely hairstyle and angled my scissor down to the floor and cut through the hair. Again using a wet comb to make sure everything was straight. After the first cut, I went back in with some scissor pointing to add some feathering. I straightened my hair after to really see what I had done and correct or change anything I felt like I needed to.


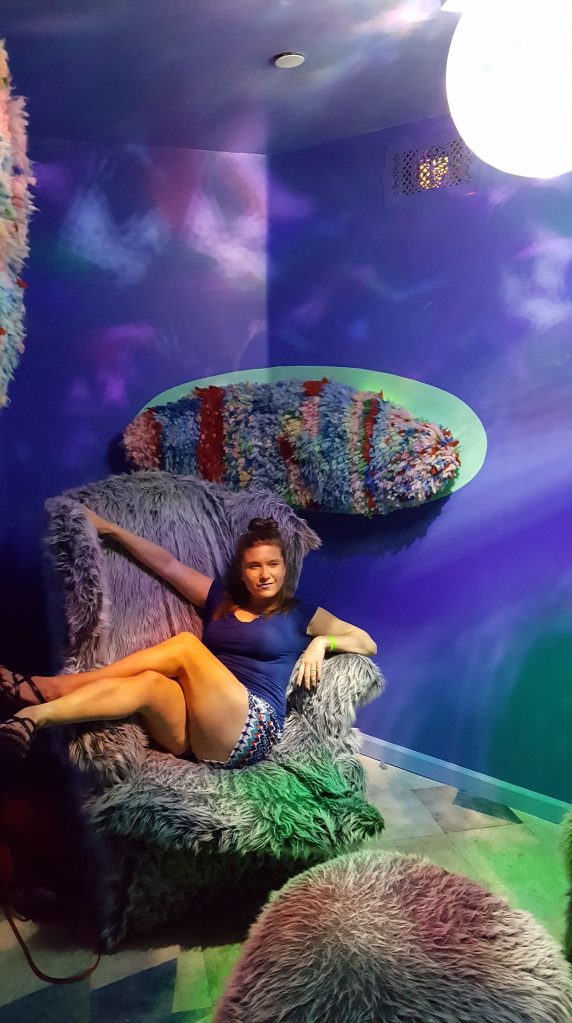
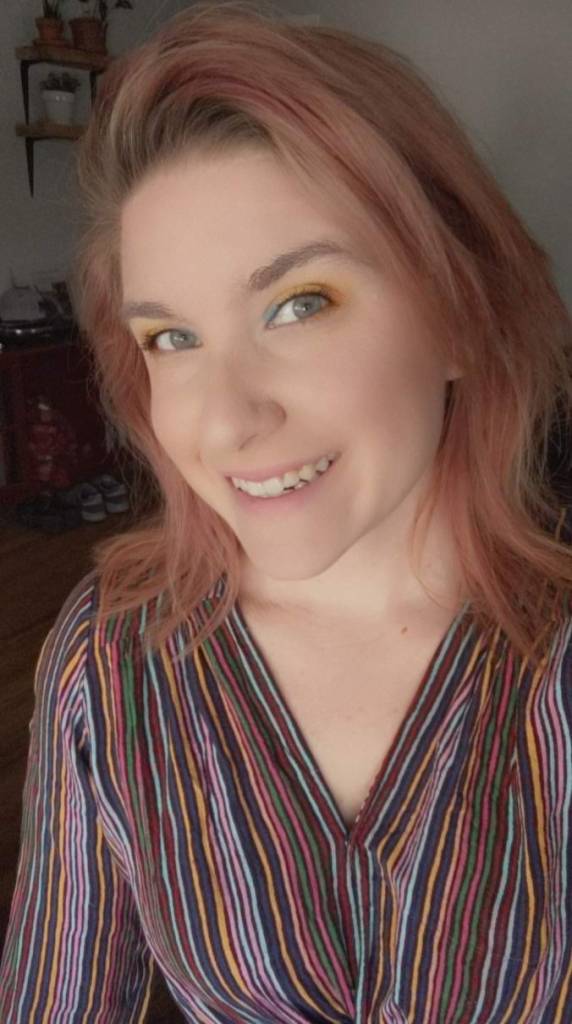
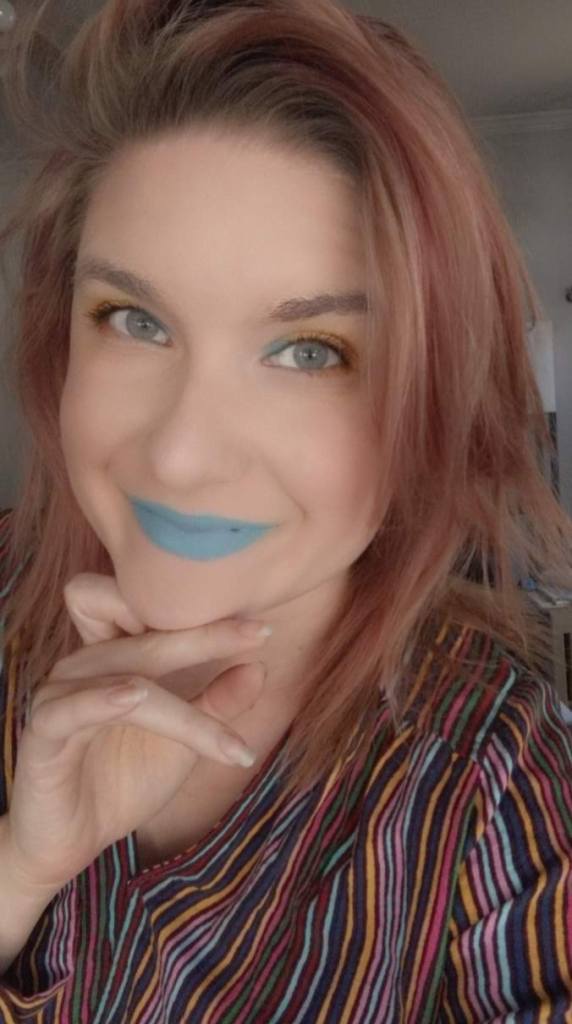
With that I of course had to get ready and take a narcissistic photo montage!
Step one: CHECK
Step two: COLOR
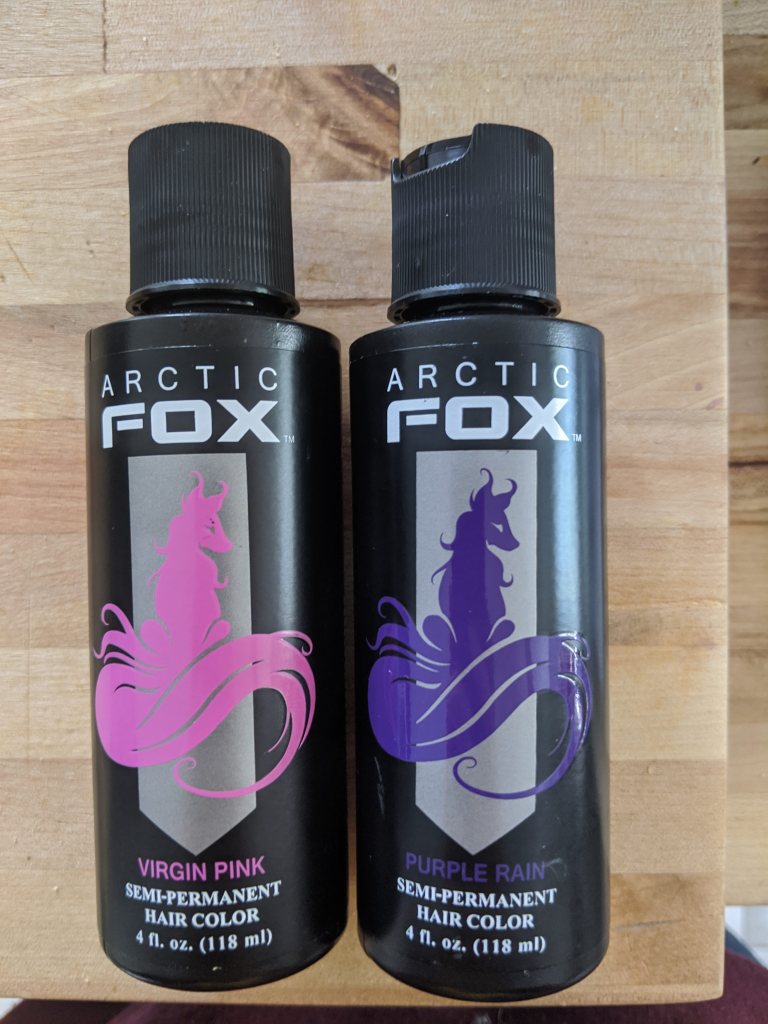

I went with Artic Fox and based on the online reviews and my personal experience thus far with the brand, it has been great. It has a berry smell, semi-permanent hair color, vegan, and part of their sales goes to wildlife fundraisers. I knew only the first two of the four before purchasing. My goals with this hair coloring job range between one of these three. Goals, easily obtainable, and if I sucked at it. Either of the three would look good.

After watching probably about two hours worth of youtube videos, I went for it! I set up an extra mirror in my bathroom so I could get closer to see my roots and head for detail painting. The hair dye itself did not come with a brush or gloves. So I found some cheap paint brushes and I *attempted a cling wrap glove, but that didn’t work so I went glovesless. I don’t have sensitive skin so the dye didn’t irritate my hands and all of the dye washed off within three days of dying my hair. I also don’t have any old baggy shirts, old gross towels, so we went with trash bag cape!
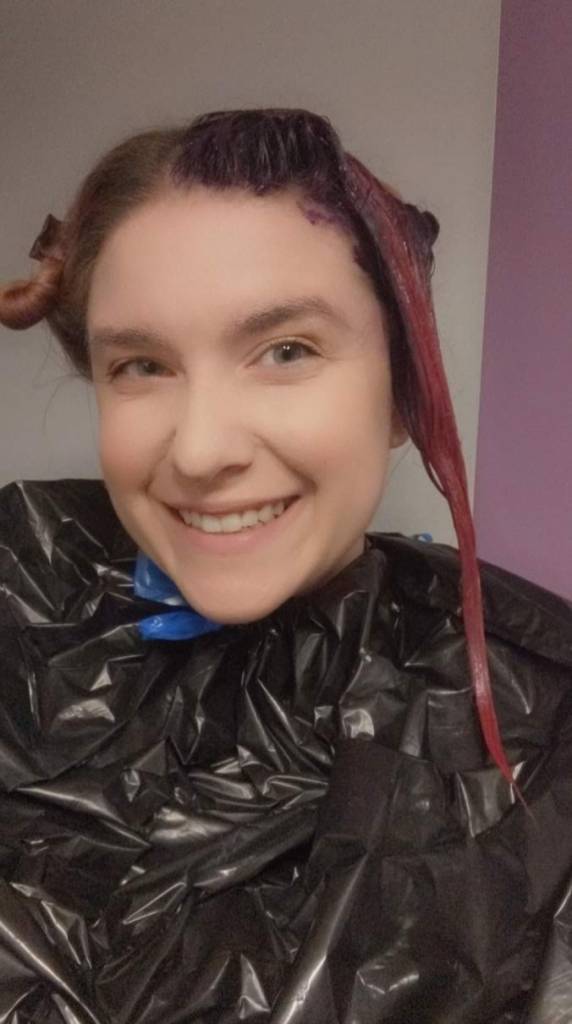
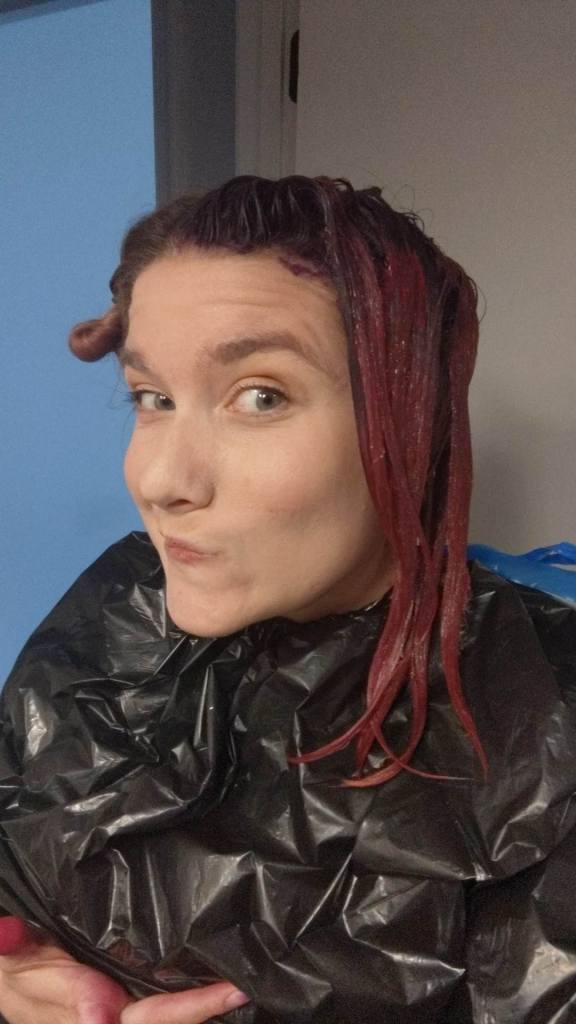
Before I applied any dye to my hair, I sectioned it off into four section. Parting my hair down the middle then from the highest point my head down behind the ear. Each section was held by a clip that I would let a ‘layer’ of hair down and dye before moving on to the next ‘layer’.

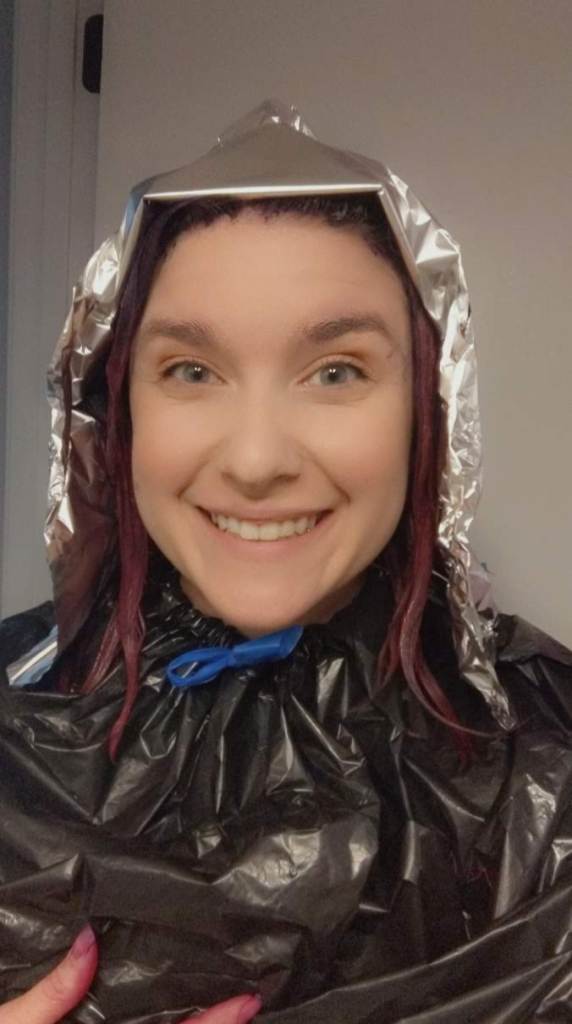
As you can see from my hands that I have sorta cropped out of the picture, they are stained with dye. So with all the hair dye in, it took me from one side to the other about 1 hour to complete my whole head. The bottles recommend about 30 minutes with your head wrapped for best result. While reading through the comments and reviews on the product a lot of people left it in for an hour to four hours for vibrance and longevity. As of right now I won’t know if the extra time added or did anything for my hair until later. Since we can’t go to salons and I don’t have a heater at my disposal and without wanting to pull a Sylvia Plath I went for the ‘aliens can read my thoughts’ aluminum hat. Now is this safe, no clue. Did it work, no clue. Did I think it did a good job at retaining my natural body heat to warm my hair. Yes.
After the long wait Josh took me outside using the garden hose and rinsed my hair out with cold water per the instructions. I think Josh enjoyed this process, spraying with cold water hearing me scream. I can only imagine what are neighbors think! As to why I went with this method; pure and simple; not to stain my tub. With a good rinse until the water ran clear it was time for natural air dry time and cold hair dryer. Just like before here comes my narcissistic photo montage!
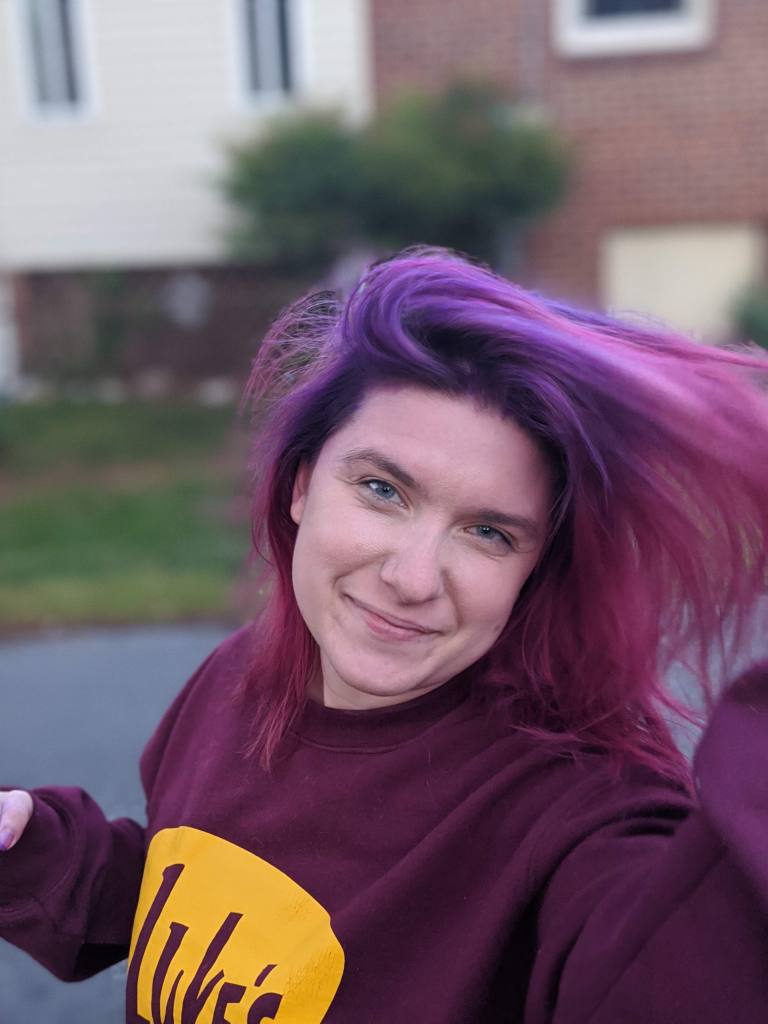

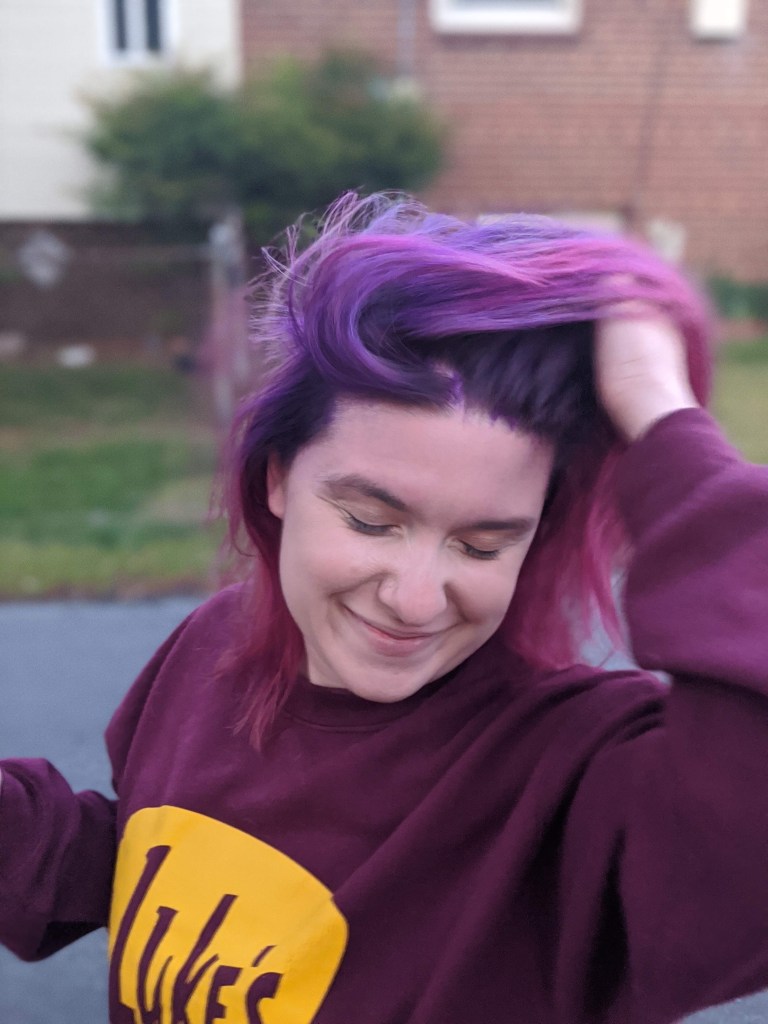
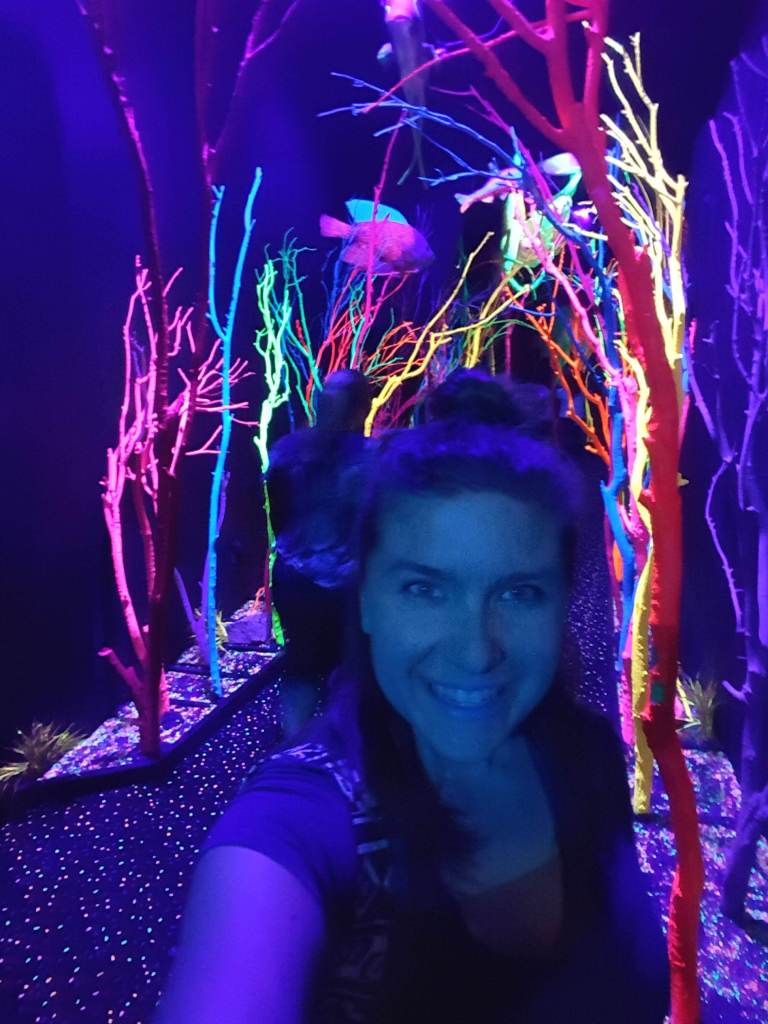
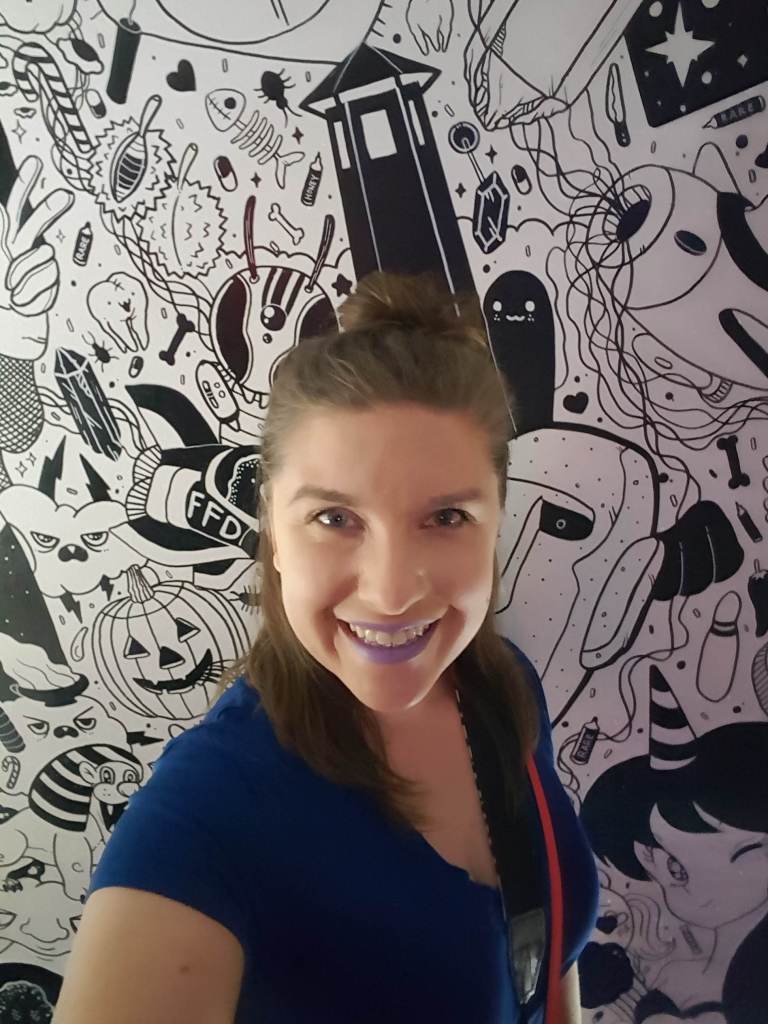
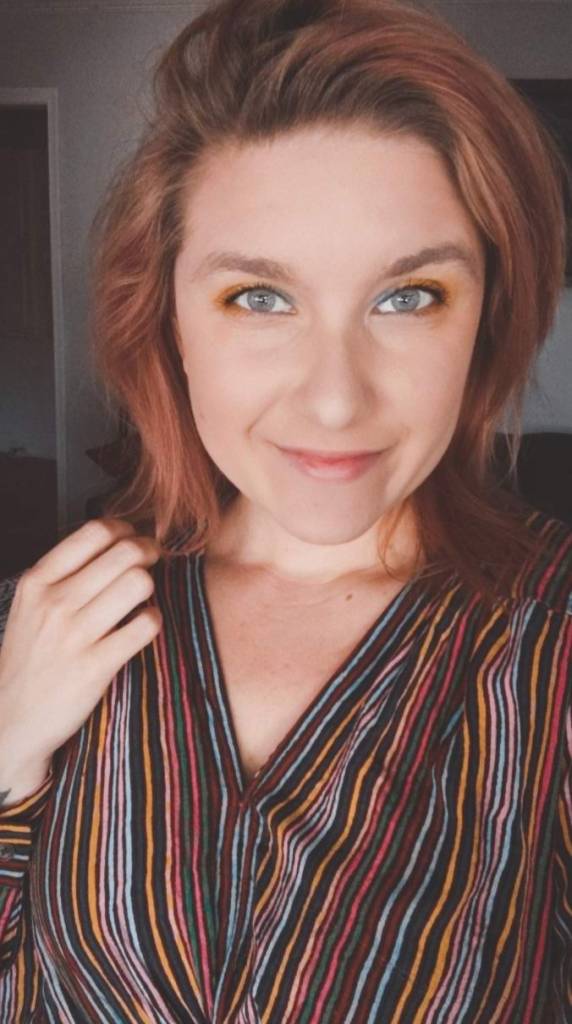
You can see in the photos natural and artificial light and how the colors look. It very much looks like the second photo that I was going for. I did attempt to add some purple back down at the bottom of the hair, but clearly not enough to make an impact. I didn’t bleach my roots so they look almost black in certain lightings. As a whole this was so much fun to do! I love having color in my hair and I think as this begins to fade I will order a more bubble gum pink dye to add to the mix! As my bleach begins to grow out the future with be a ombre look but as long as I can cover my roots with a dark color the dye is the limit!
*do not cut or dye your own hair if you don’t have parent approval, supervision, or the supplies to do it safely and properly. My post is not a tutorial to follow on how to do your hair. This is personal experience.*